
Categories
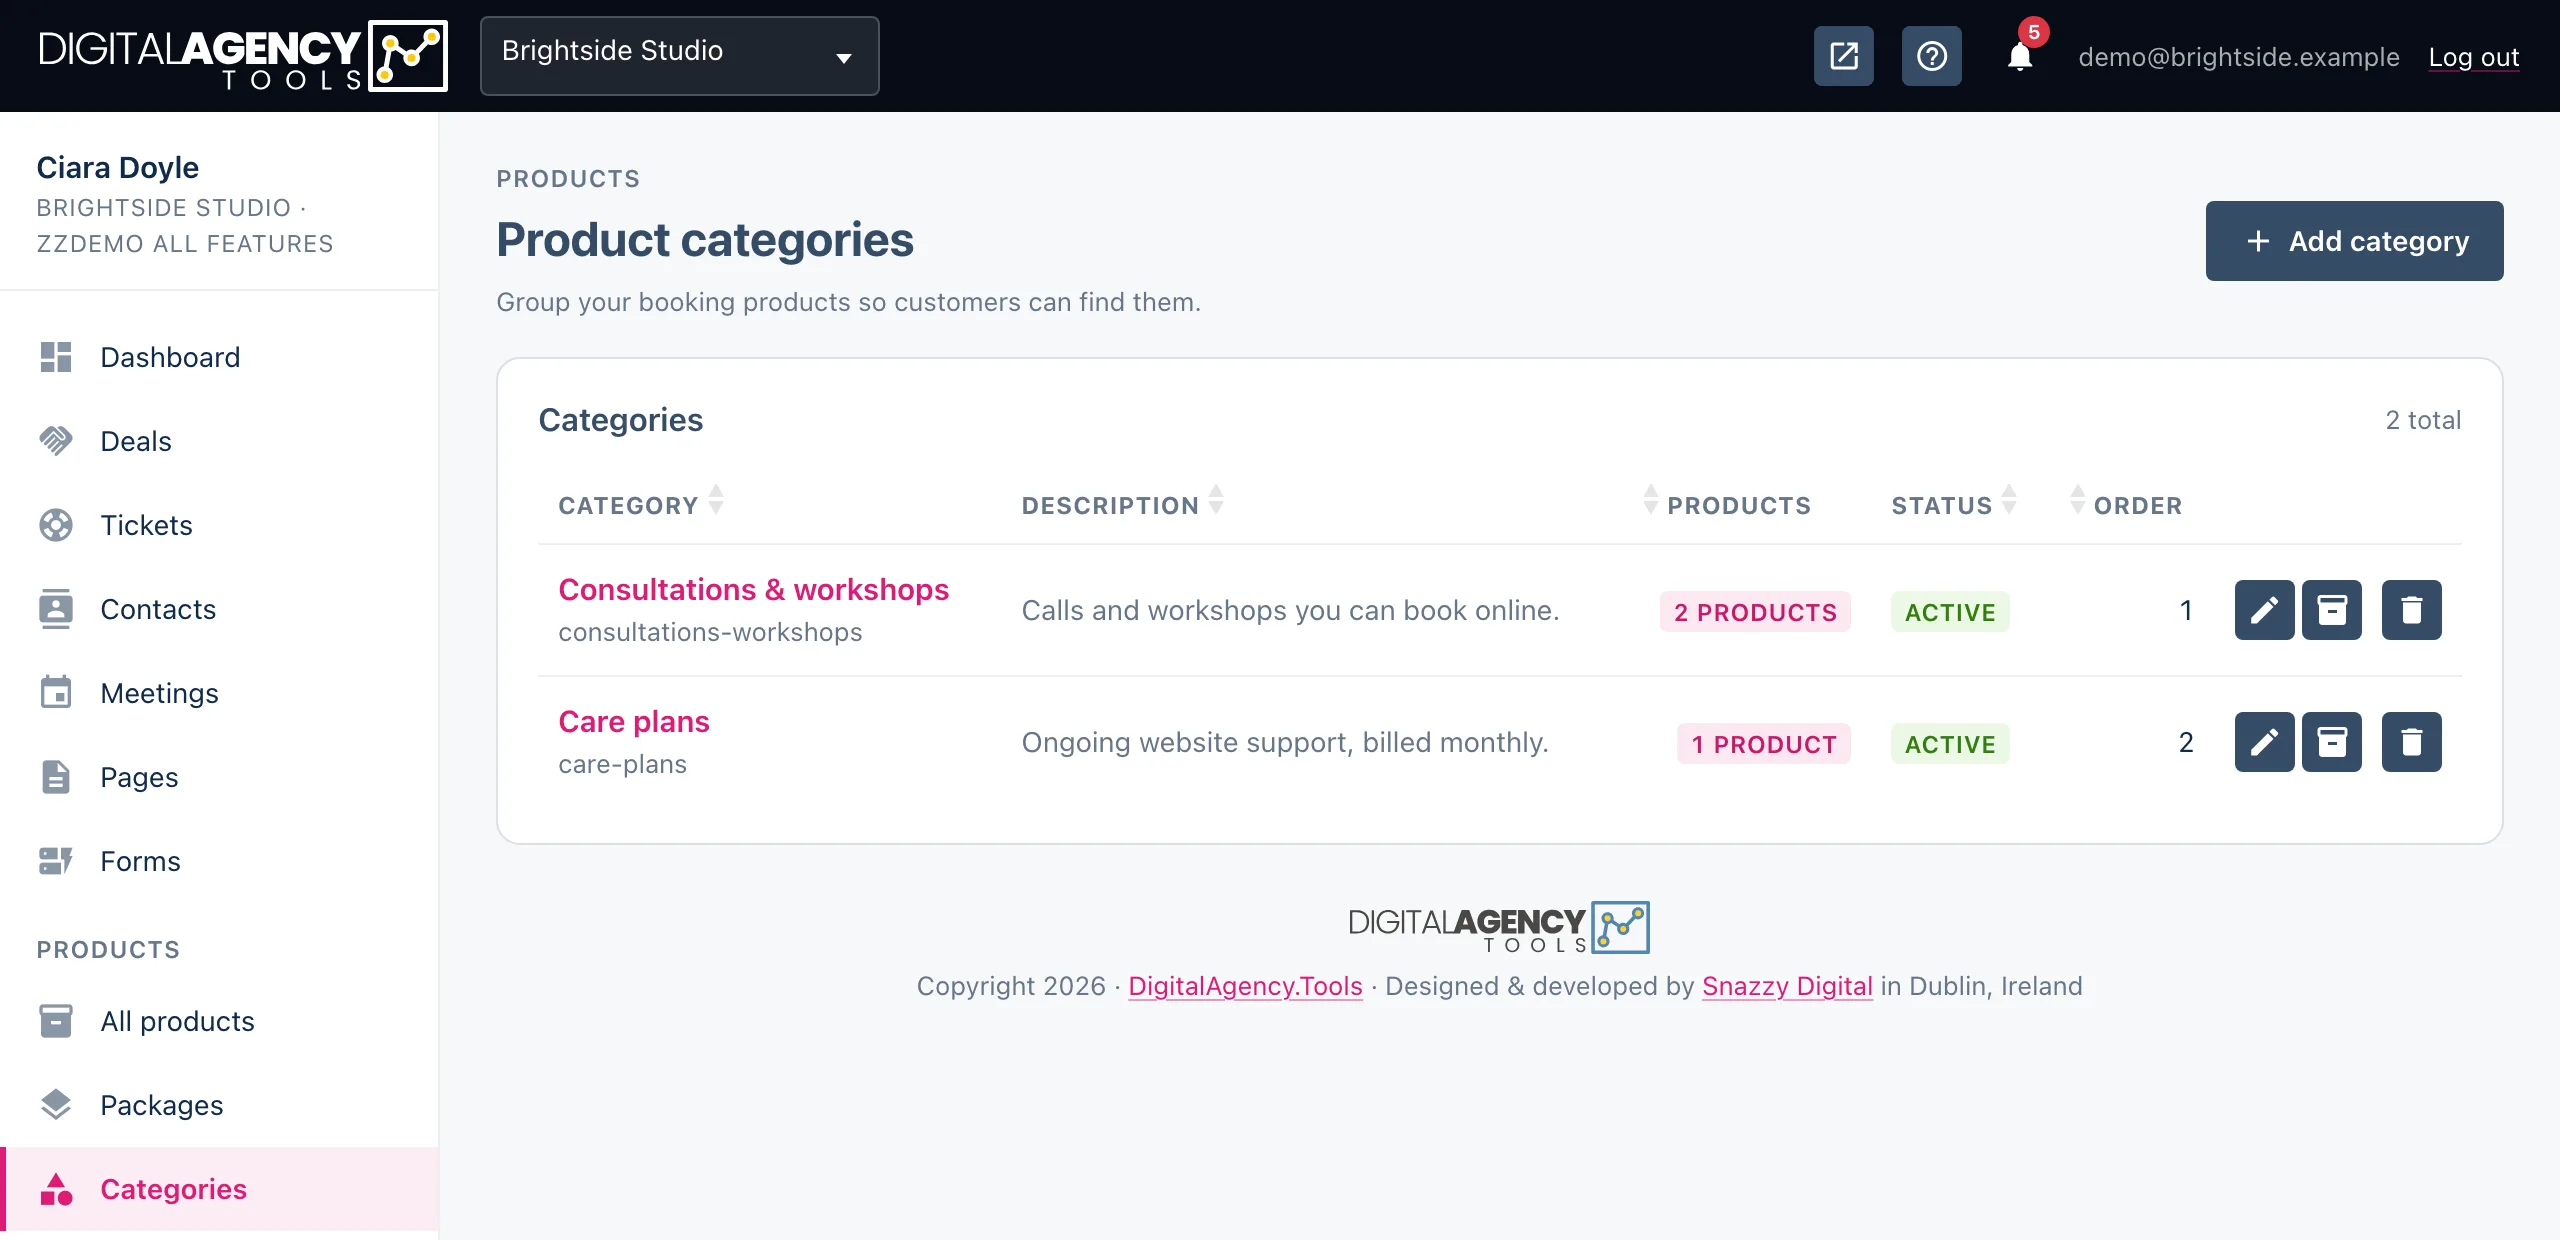
Categories group your products so the list stays easy to work with as it grows: coaching, workshops, consultations. Each product sits in one category, or in none.
How to
- Open Products → Categories and click Add category.
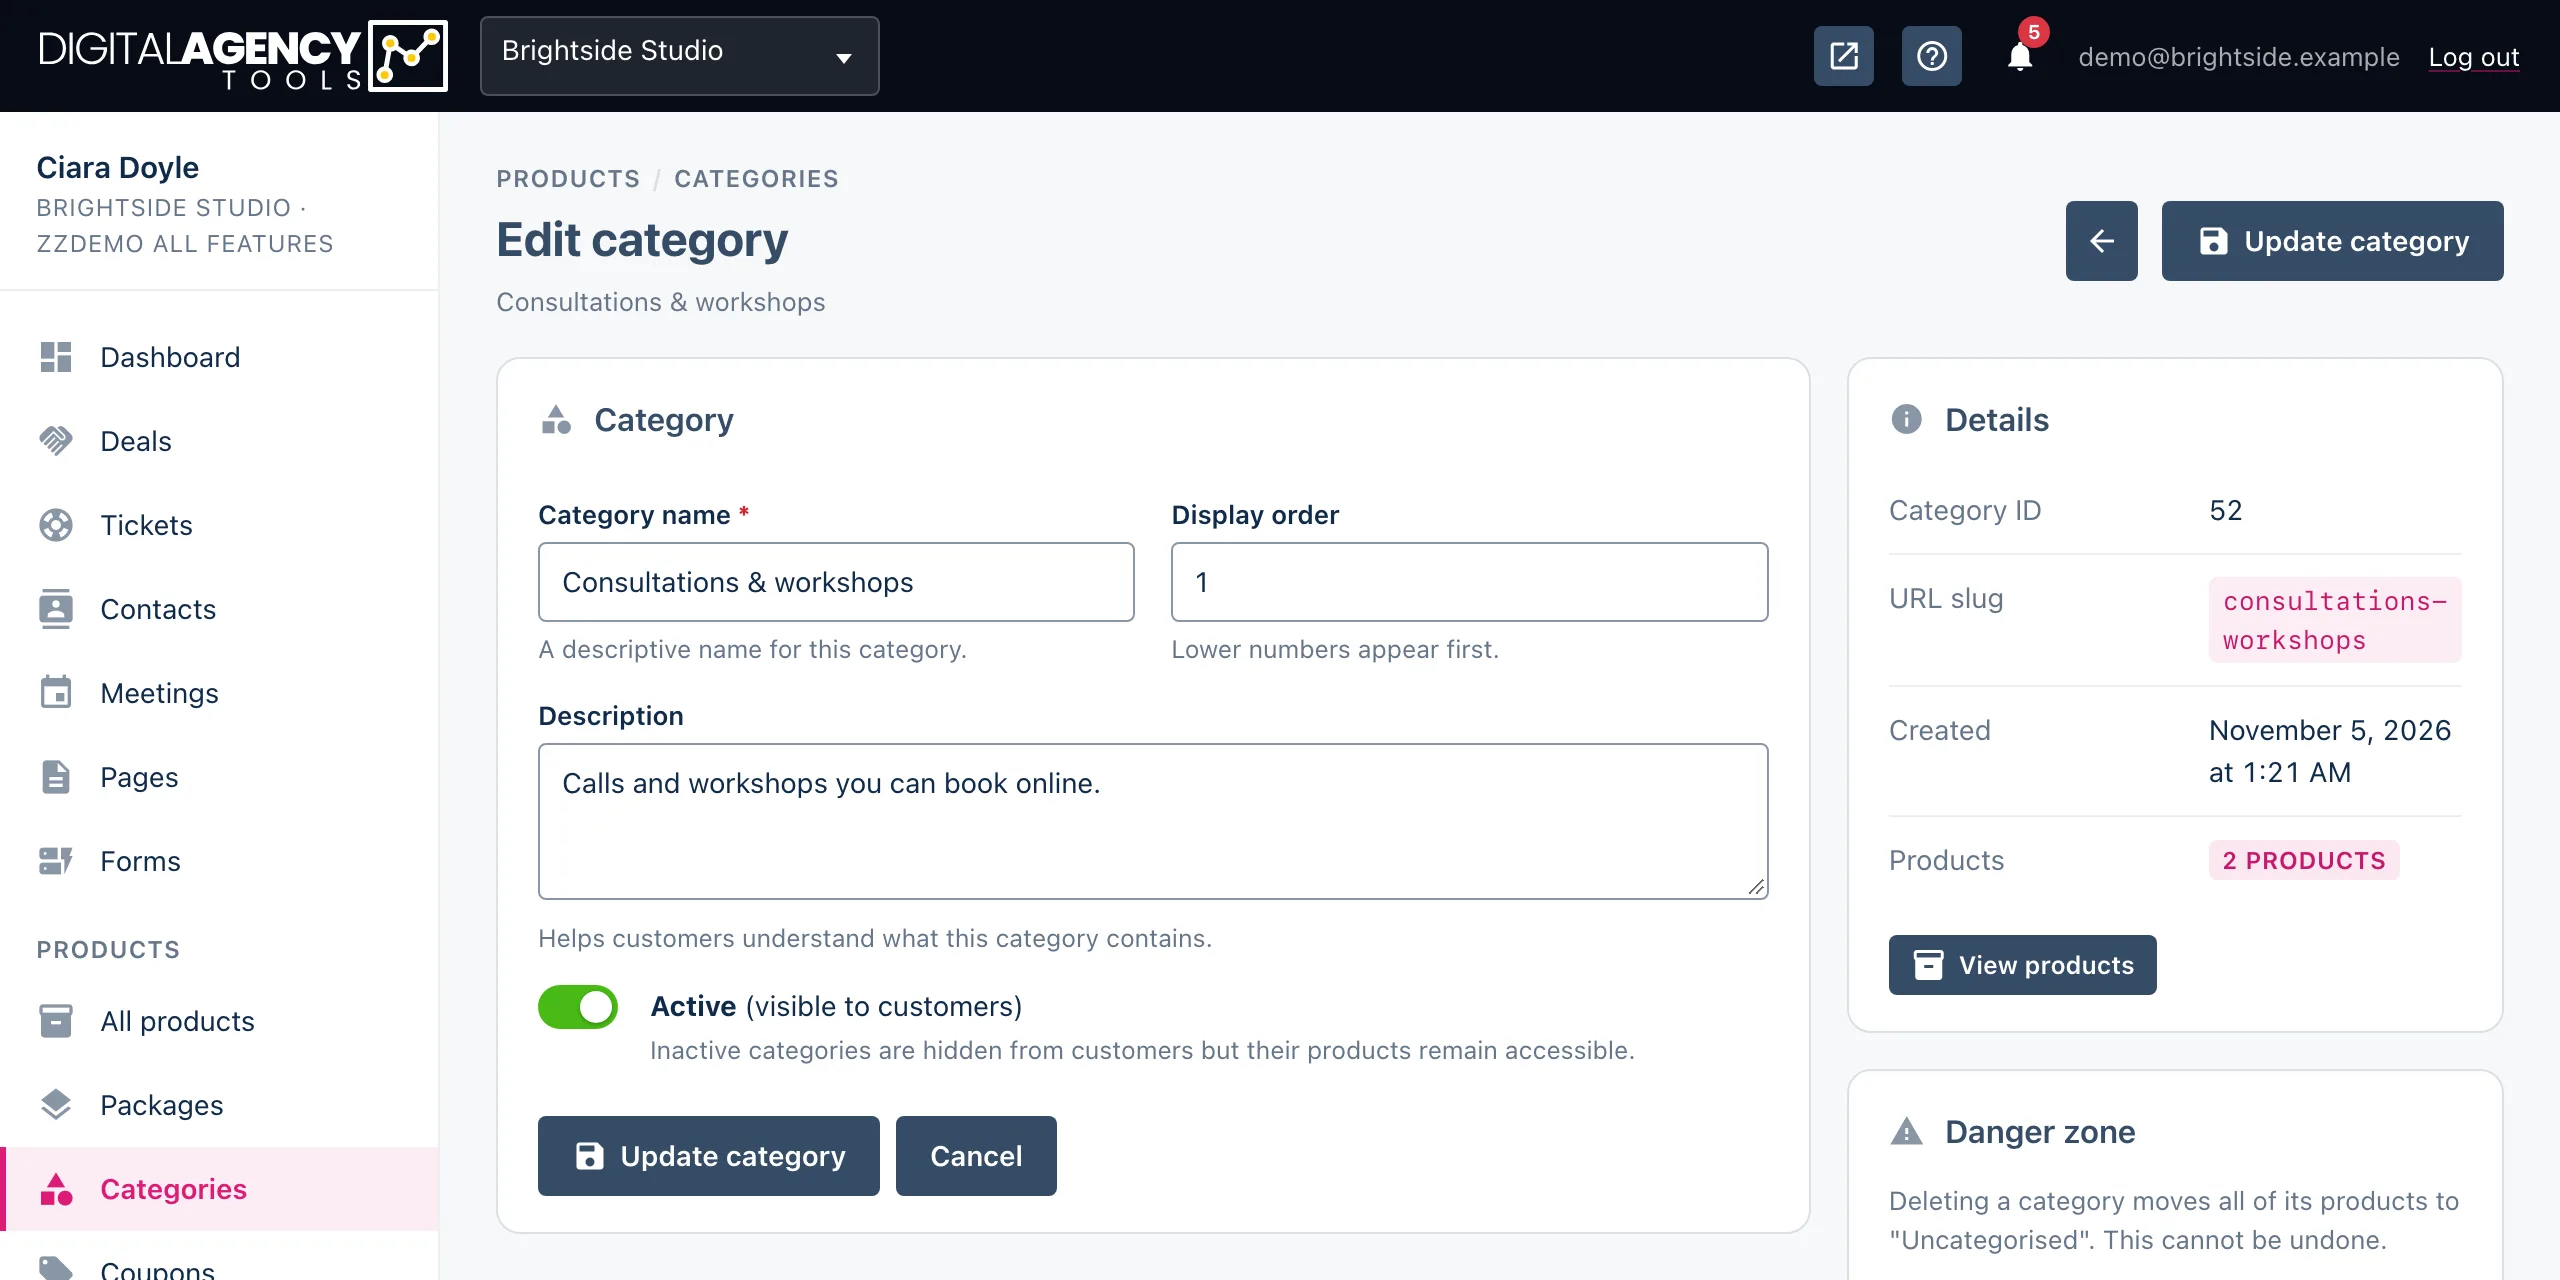
- Enter a Category name (required) and, if you like, a Description.
- Set a Display order. Lower numbers come first.
- Leave Active ticked and click Create category.
- Open a product under Products → All products, choose the new category in its Category field and click Update product.
Using categories
On Products → All products, the Category filter narrows the list to one category, or to Uncategorised for products without one. Each row shows its category as a badge.
From the categories list, the View products icon opens the product list already filtered to that category. The same button is on the category's edit page, next to its details.
You can also create a category while editing a product: the Create a new category link under the Category field opens the form in a new tab.
Fields
Category name   required
Display order   lower = first
Description     optional
Active          on by default
Inactive categories
Untick Active to retire a category. It is hidden from the Category choices when you edit a product, but its products keep their category and stay bookable.
Deleting a category
Use the bin icon on the category's row, or Delete category in the danger zone on its edit page. You are asked to confirm. The products in it are not deleted: they become Uncategorised.
Related
Still stuck?
Can't find what you're looking for? Send us a message and we'll reply by email.