
Portal settings
Each project's portal has its own welcome message and four switches: the AI status summary, booking, support tickets and invoices. Change them on the project's Client portal tab.
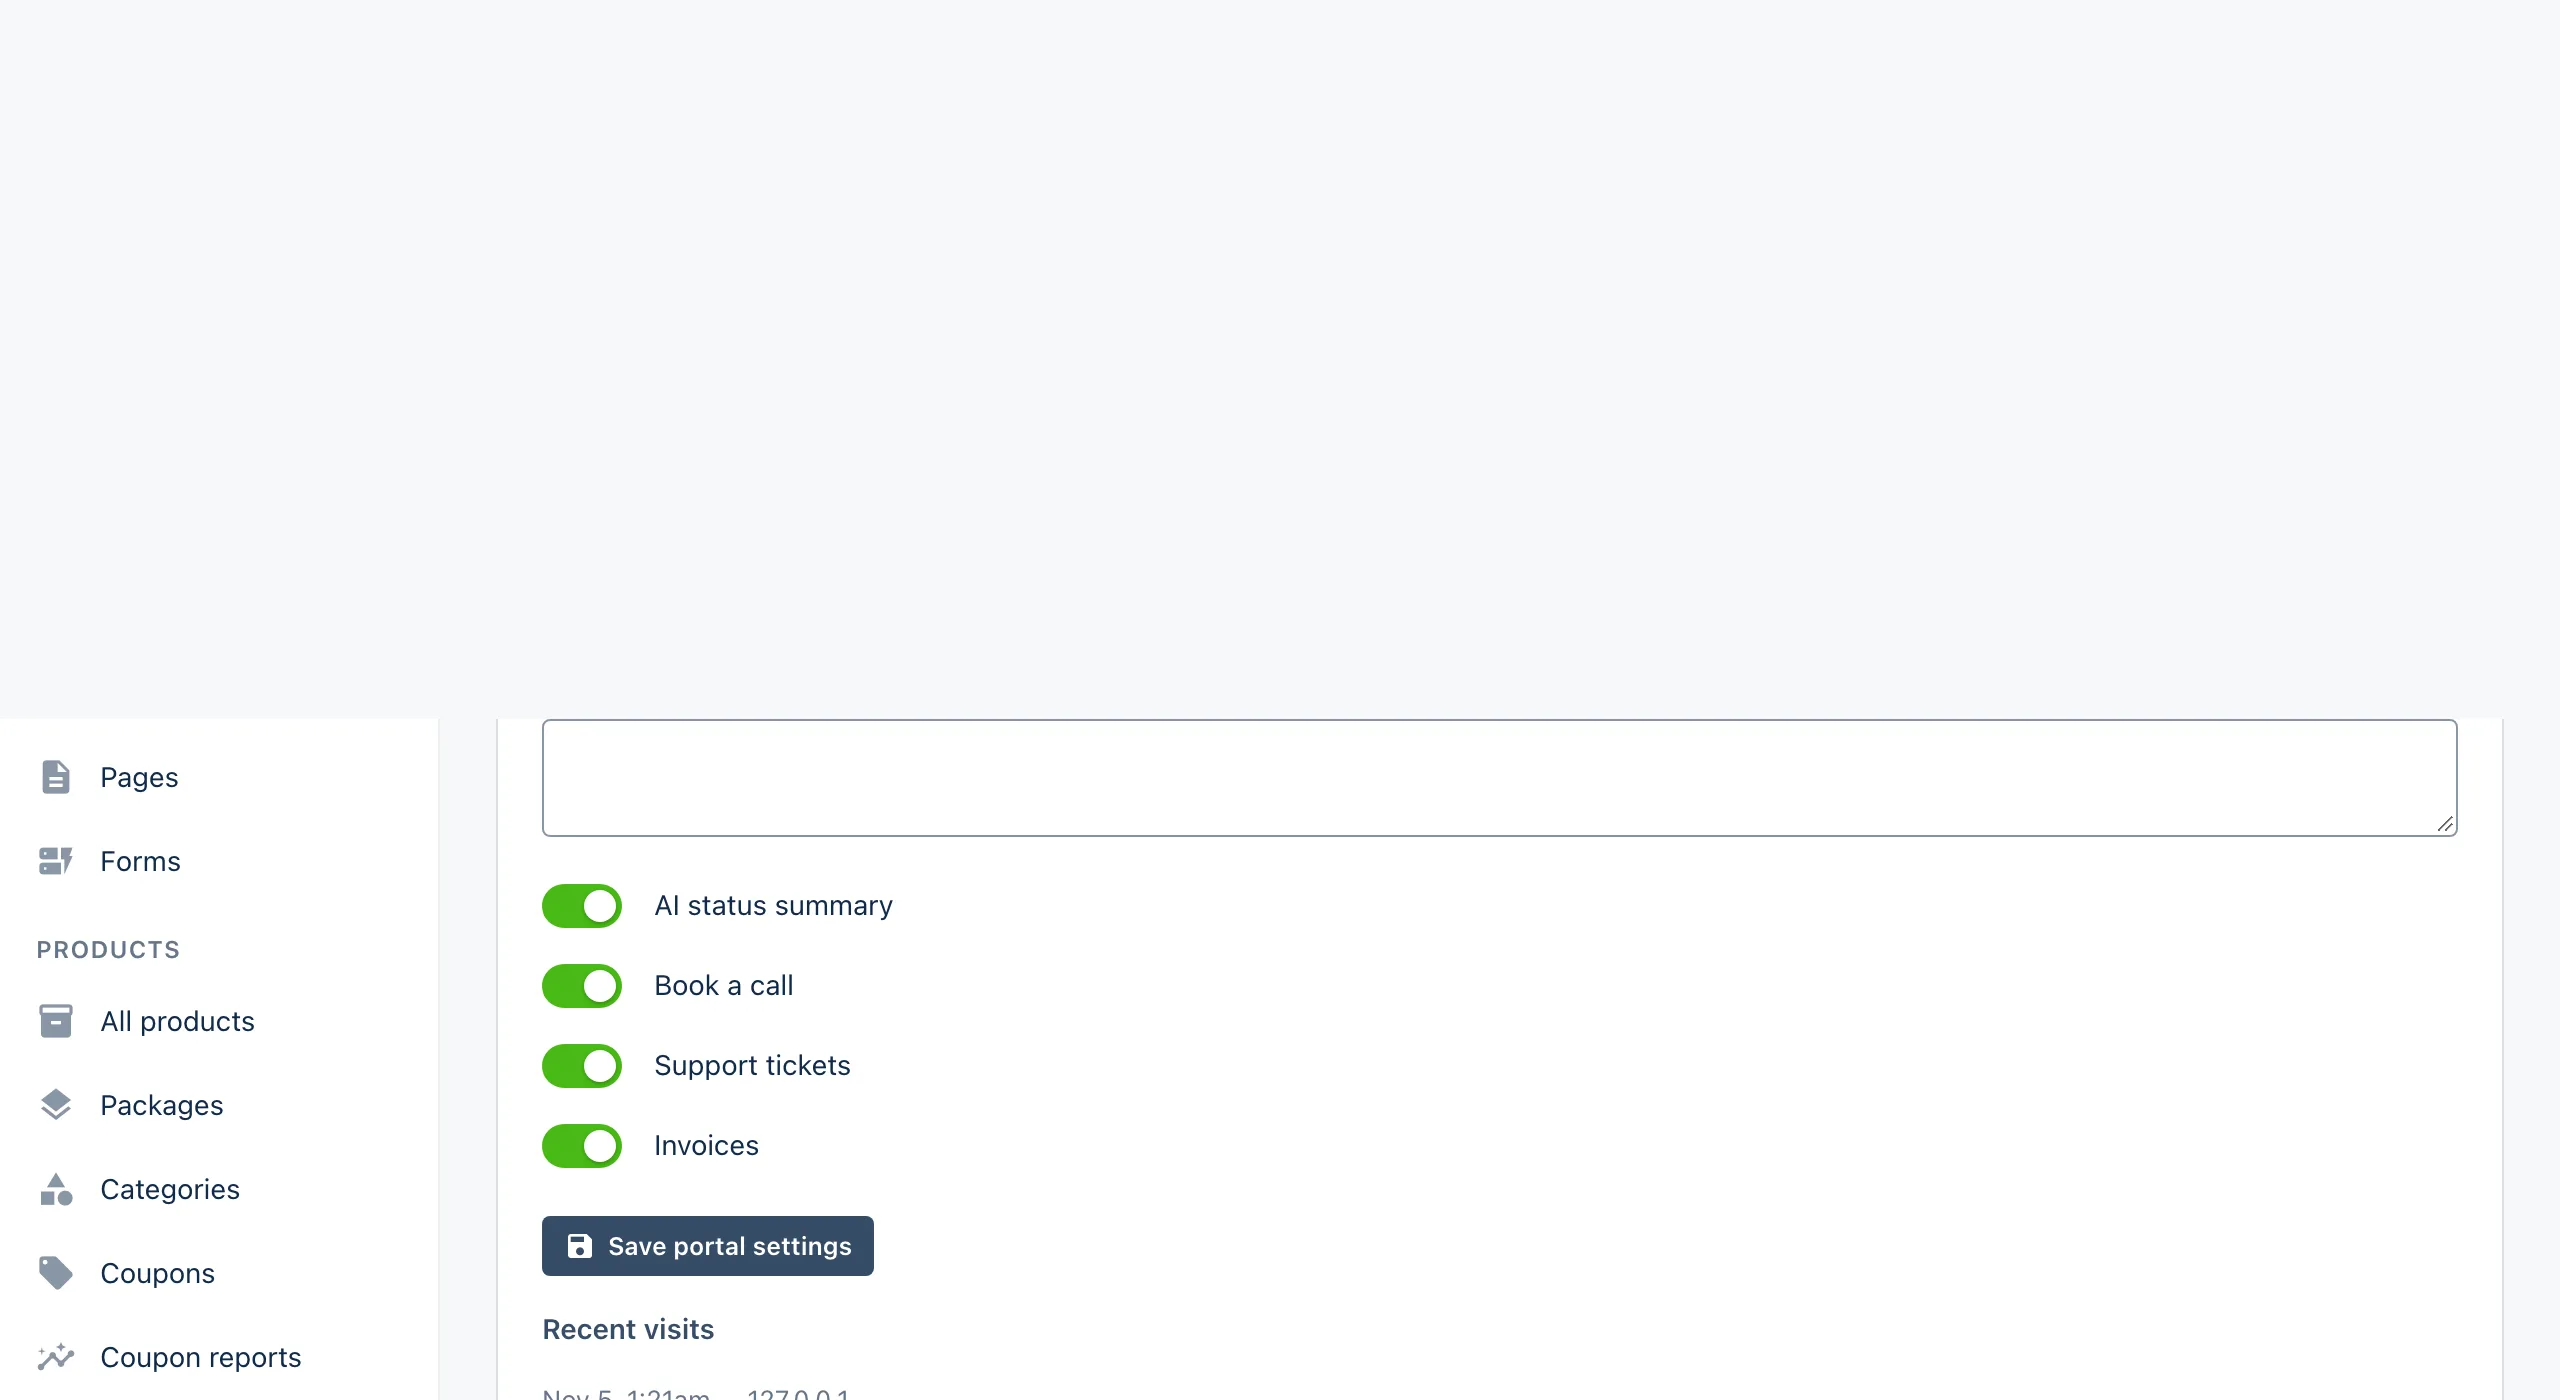
How to
- Open the project and choose the Client portal tab. If there is no portal yet, click Create portal first.
- Type a Welcome message. It appears at the top of the portal, line breaks and all.
- Tick or untick AI status summary, Book a call, Support tickets and Invoices.
- Click Save portal settings. The portal changes the next time your client loads it.
The switches
| Switch | When on, the portal shows |
|---|---|
| AI status summary | A "Where things stand" paragraph written by AI from the project's milestones, deliverables and requests. |
| Book a call | A button to your public booking page. Needs a booking page address for your business. |
| Support tickets | The client's tickets that are not resolved or closed (up to 10). |
| Invoices | The client's open invoices, each with a Pay button. |
Everything else, the timeline, scope, deliverables, requests and sent updates, always shows when there is something to show. To hide the portal completely, use Disable.
The AI status summary
The summary is not written while the client waits. A scheduled job refreshes it in the background for every enabled portal with the switch on, but only when a milestone, deliverable or request has changed since the last summary. A brand-new portal gets its first summary on the next run.
Until a summary exists, the "Where things stand" section is simply left out. It is never shown as empty.
Invoices and tickets come from the client
The invoices and tickets sections are matched to the project's client contact, not to the project. If the same client has two projects, both portals show all of that client's open invoices and tickets.
Still stuck?
Can't find what you're looking for? Send us a message and we'll reply by email.