
Send email from your domain
Add two DNS records and your booking confirmations, invoices and proposals come from your own address instead of the platform's.
How to
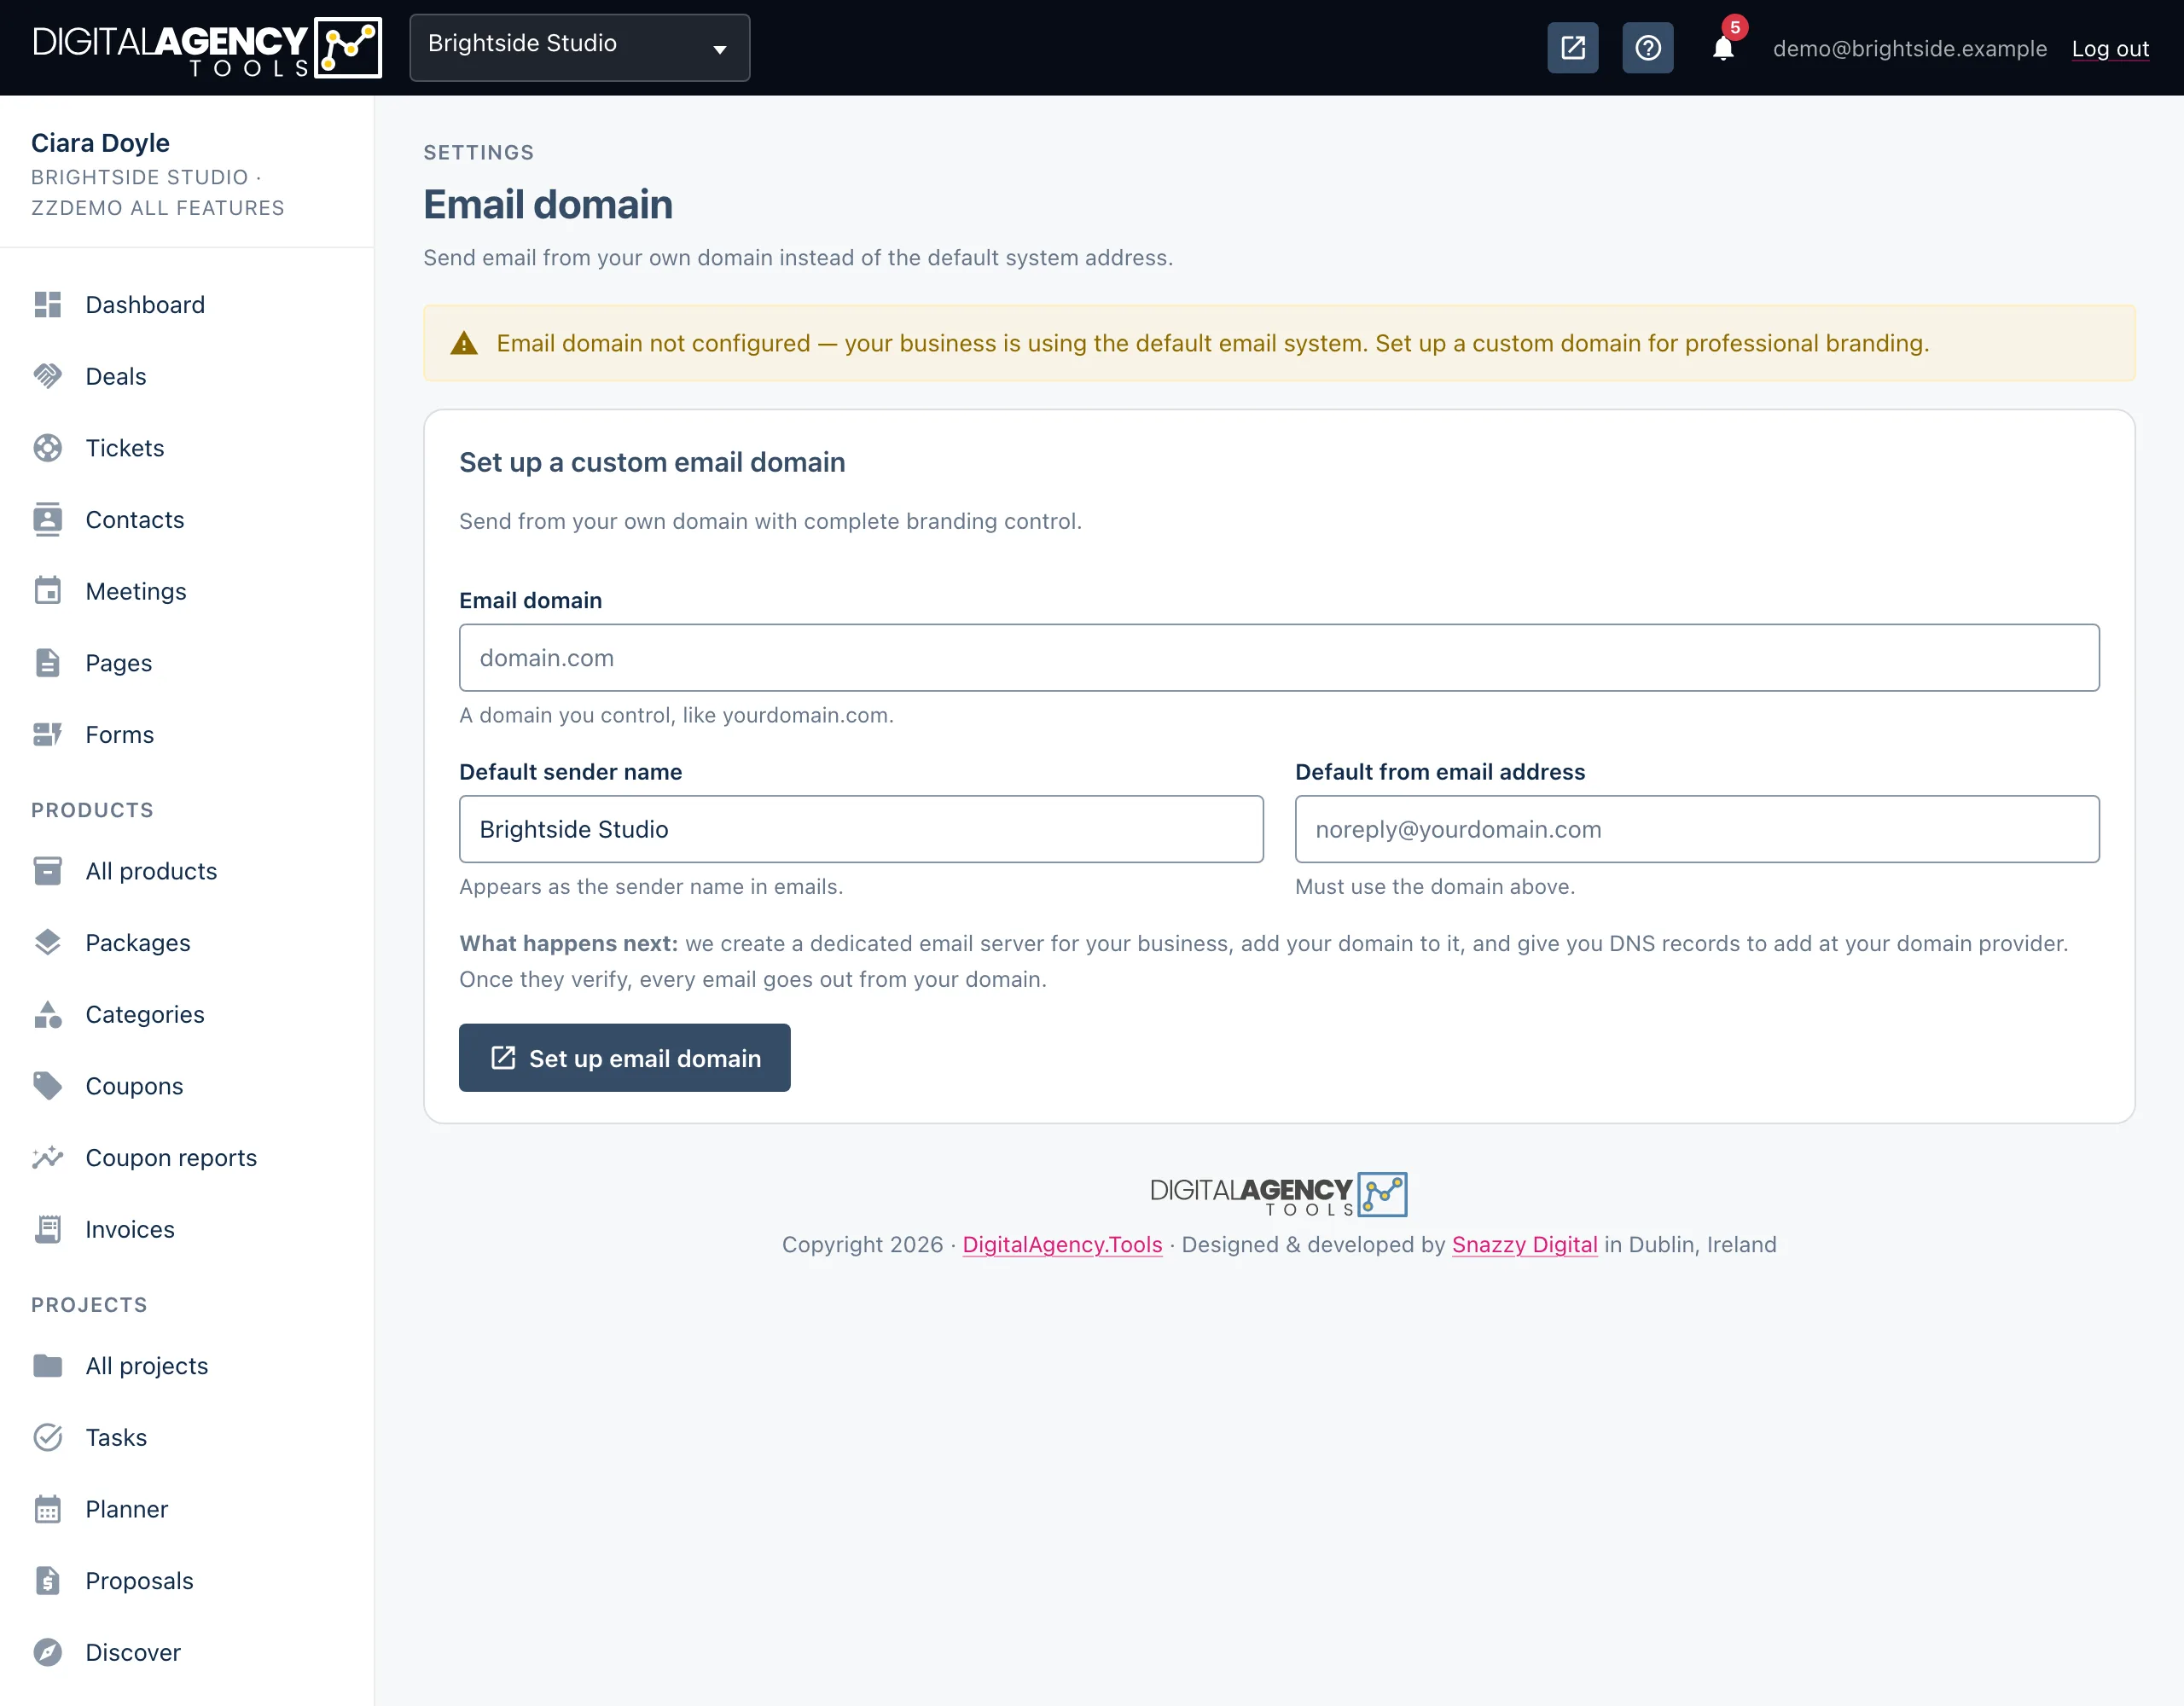
- In the sidebar, under Settings, open Email domain.
- Fill in Email domain (for example
youragency.com), Default sender name and Default from email address. The from address must be on that domain. - Click Set up email domain. Two DNS records appear.
- Add both records at your DNS provider. Click a value to copy it.
- Wait for DNS to update, then click Check DNS records. When both show Verified, the status reads Active.
- Under Test email, enter your own address and click Send test email.
The two records
The DKIM authentication record proves the email really comes from you. The Return path record is a CNAME that handles bounces.
DNS changes can take up to 24 hours to spread, though most are done within the hour. Until both are verified, the status shows Setup required or Partial (one of two), and emails keep coming from the platform's default address — nothing stops sending.
Status
Setup required  no records verified
Partial         one of two verified
Active          both verified
Using Cloudflare?
Once it is active
The Domain summary card shows the domain, from address, sender name, both records and when it was last verified. Change the sender name or from address in Email configuration and click Update configuration.
Remove configuration takes the domain off your business. Emails go back to the platform's default address.
Plan
Sending from your own domain is part of the Custom email domain feature. If your plan does not include it, Email domain is missing from the sidebar and the page sends you to Upgrade account.
Still stuck?
Can't find what you're looking for? Send us a message and we'll reply by email.