
Newsletter settings
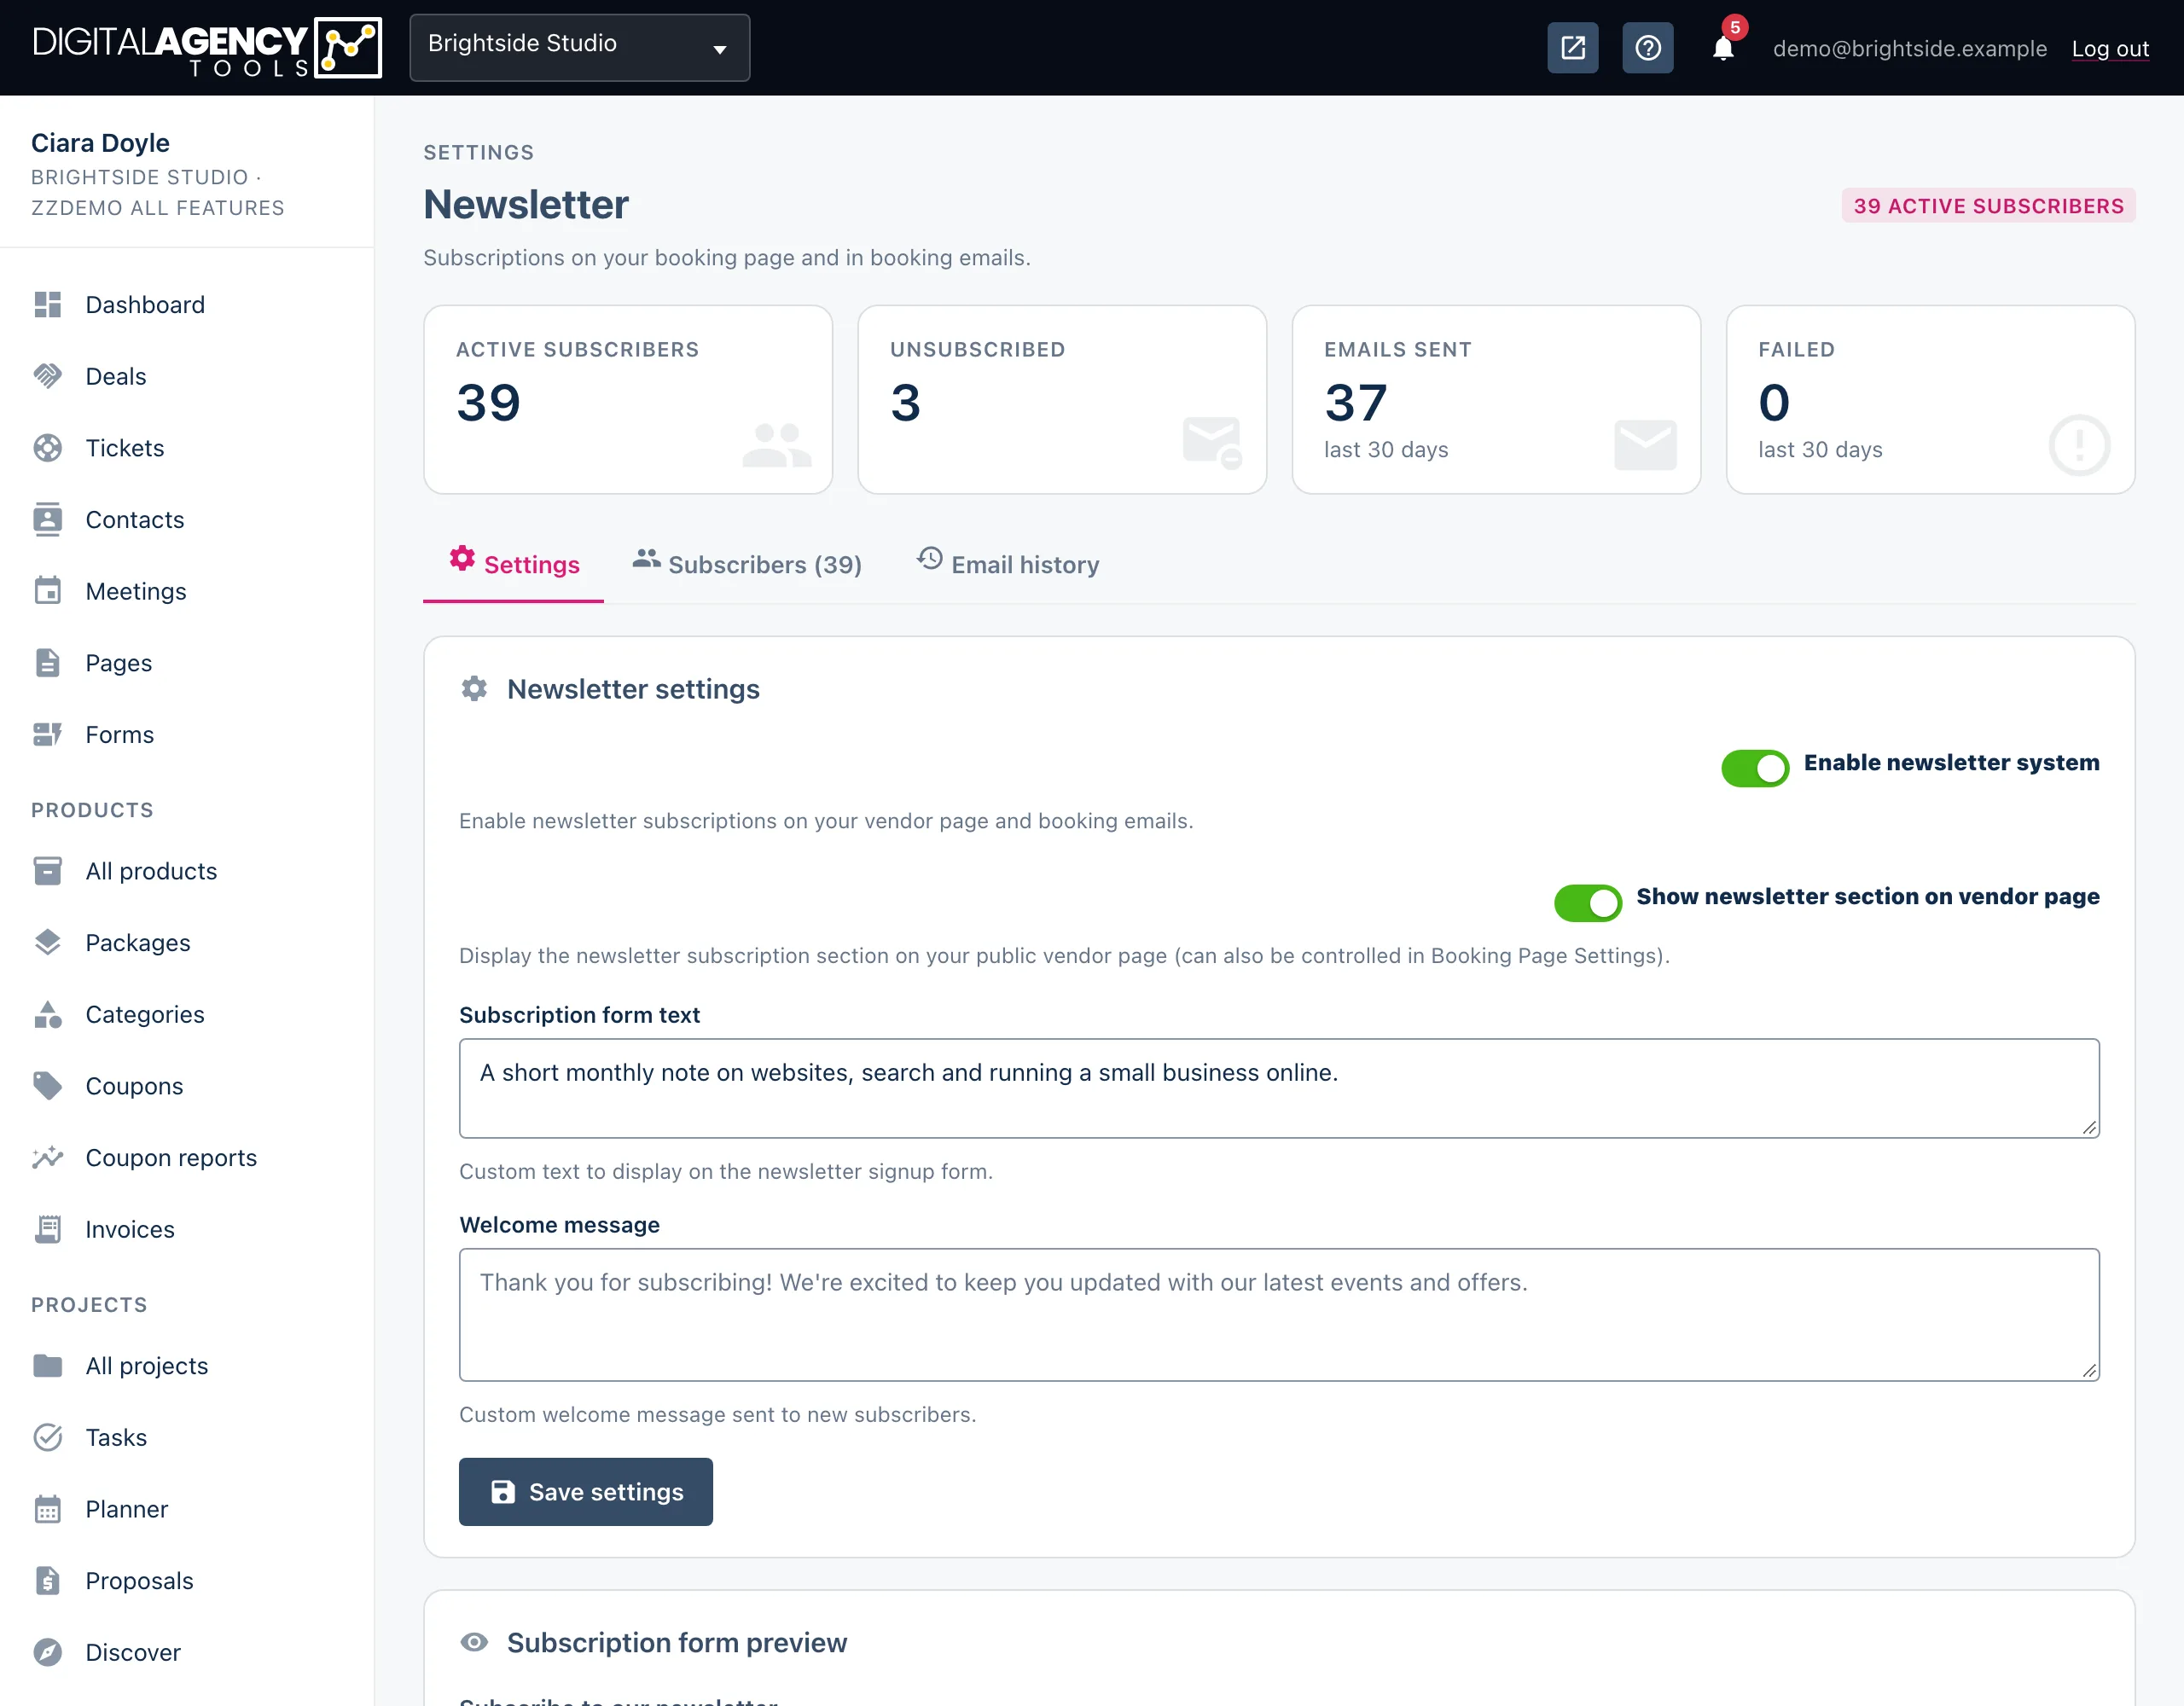
Switch the newsletter on, put a signup box on your booking page, and write the words people see when they join.
How to
- Open Settings → Newsletter.
- Turn on Enable newsletter system.
- Turn on Show newsletter section on vendor page to put the signup box on your booking page.
- Write your Subscription form text and Welcome message.
- Click Save settings, then open your booking page to check the signup box.
The two switches
Enable newsletter system is the master switch. While it is off, nobody can subscribe, from your booking page or by being added in the panel.
Show newsletter section on vendor page decides whether the signup box appears on your public booking page. The same switch is in Settings → Booking page, where you can also move the section up or down the page.
Both on
Enable newsletter system          on
Show newsletter section on page   on
→ signup box on /your-slug
The wording
Subscription form text is the line above the email box on your booking page. Leave it blank for the default: Get notified about new events, classes, and special offers. No spam, unsubscribe anytime. The Subscription form preview card shows how it reads.
Welcome message goes into the email every new subscriber receives, titled Welcome to <your business> Newsletter!
Say what they get
"New class dates and early-bird
 offers, about once a month."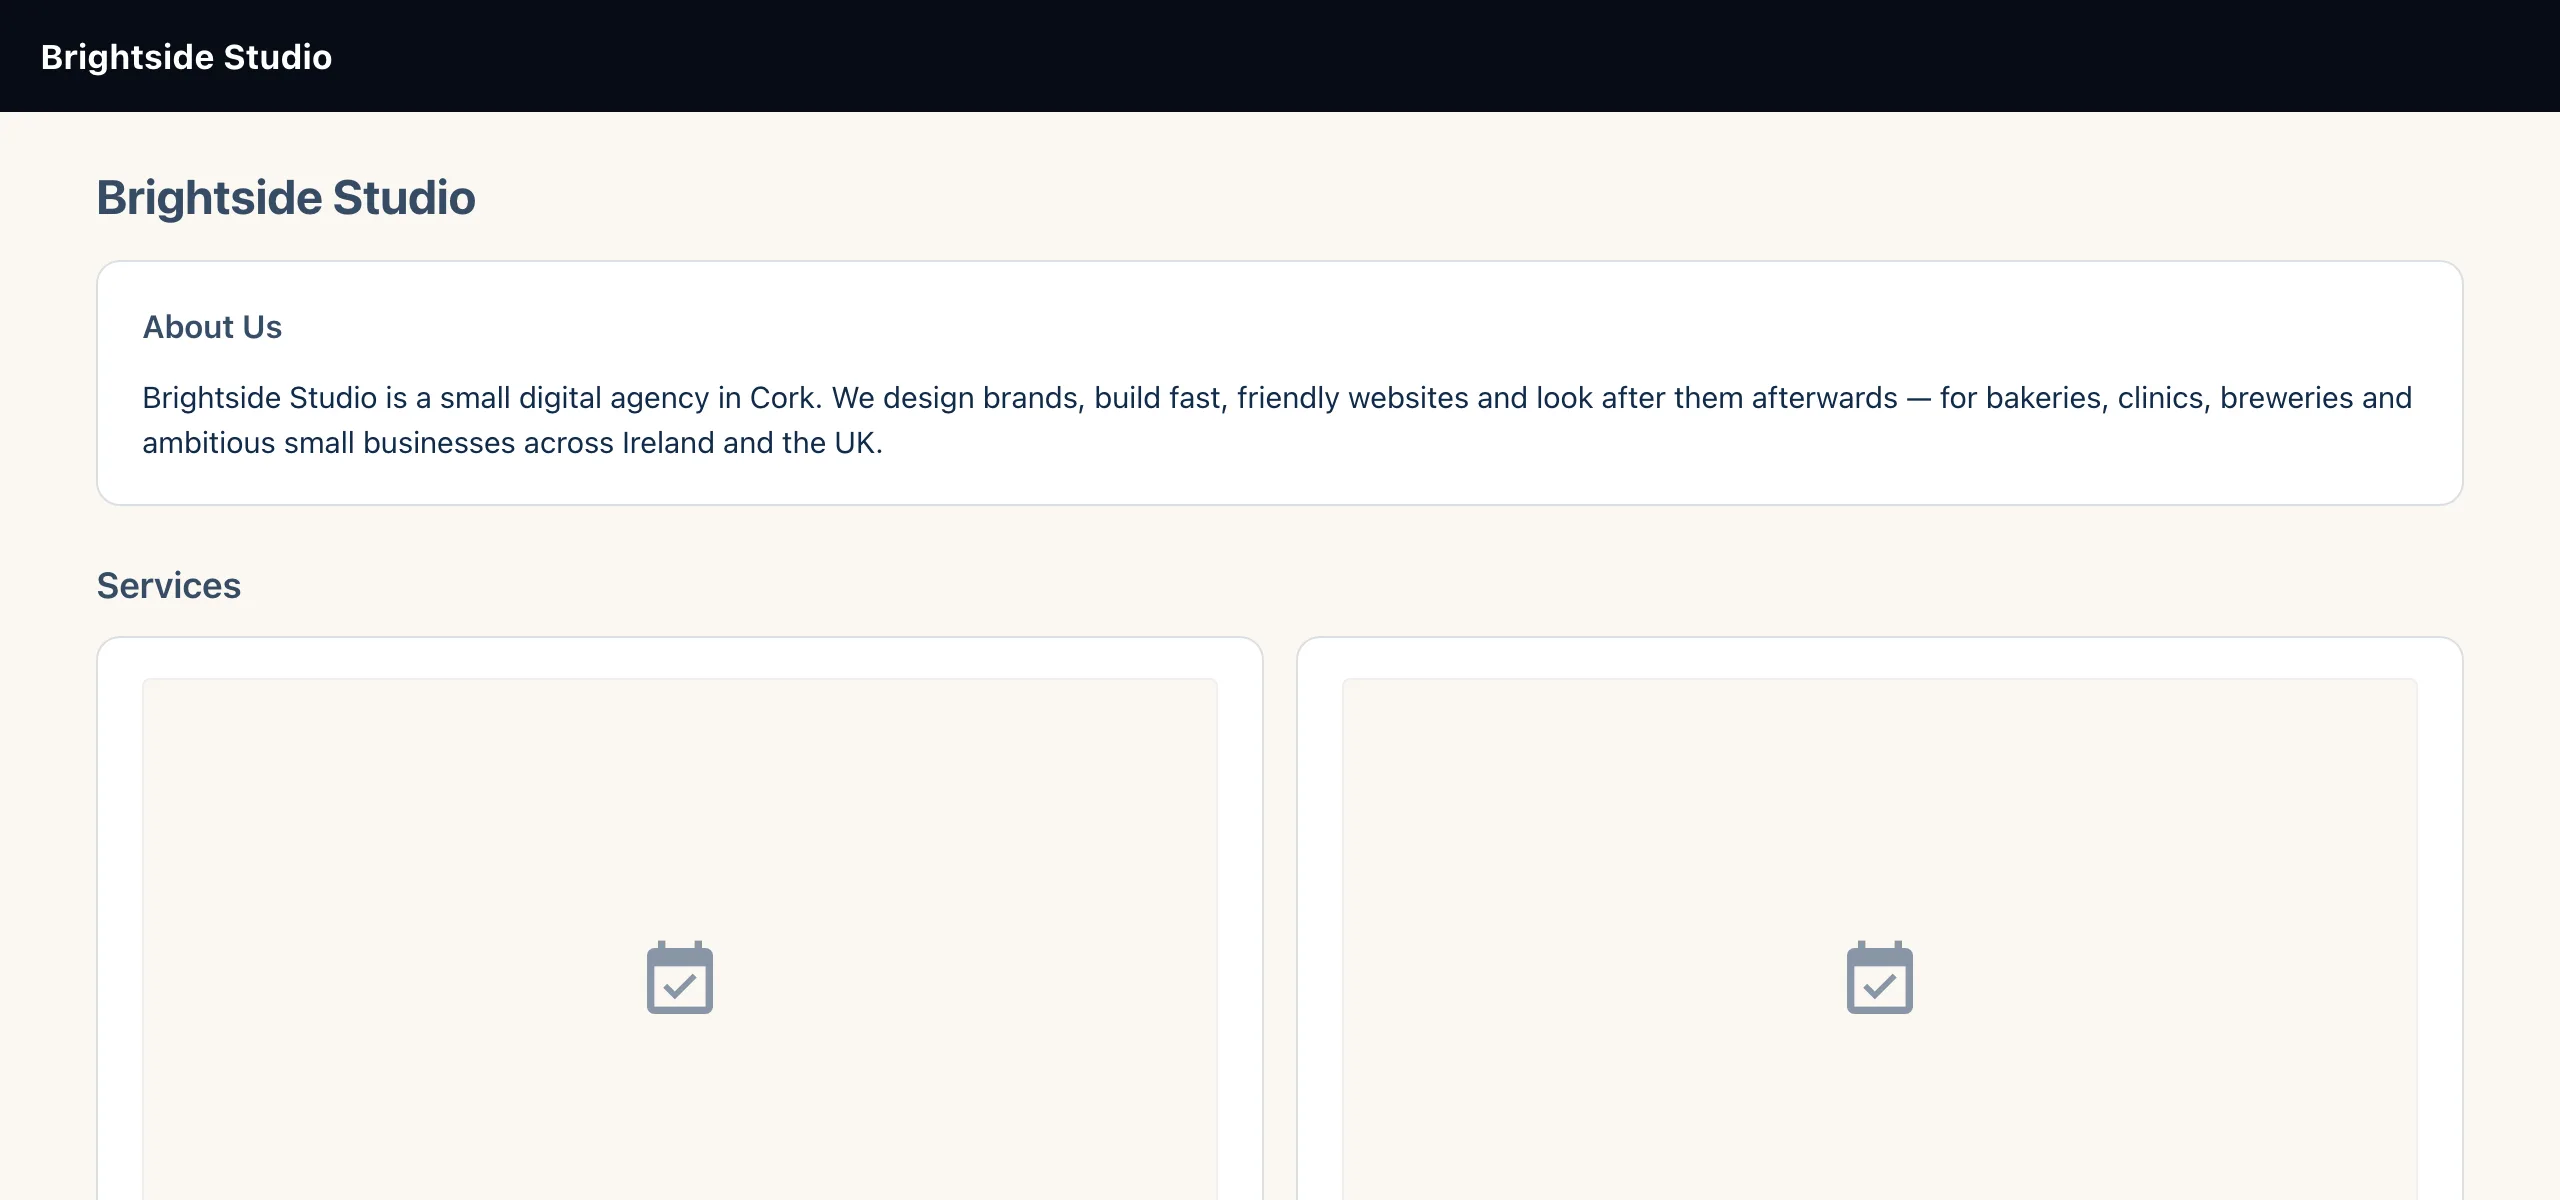
The other tabs
This page also has Subscribers and Email history tabs. They are short versions of Newsletter → Subscribers and Newsletter → Email history, so you can add someone or check a send without leaving settings.
Still stuck?
Can't find what you're looking for? Send us a message and we'll reply by email.